Pay-walled AI Interview
2025-12-01
Note: for a less technical overview of x402, check out my blog post How x402 will change the world.
If you haven't had a chance to try out interviewing my AI agent yet, you can do so here!
What this project aimed to achieve was to implement the revived x402 HTTP method pioneered by x402.com into a pay-walled chatbot. This gives prospective employers, like yourself, the ability to pay a few cents for half an hour interrogation of my agent before talking to the real me.
In this project overview, I will break down how I built a x402 pay-walled chatbot into my portfolio page, what went wrong, what I learned, and what I'm looking forward to in the future. You can also read more about x402 in my blog post How x402 will change the world where I talk about the technology behind this project.
In the beginning...
There was research. I first learned about x402 on my trip to Buenos Aires, Argentina when I attended ETH Global. Coinbase has been pioneering a payment method, or rather an error for lack of payment built into the existing web2 world in the form of an HTTP method. While I did not build anything at this hackathon for the protocol, I immediately began thinking of my own use cases. The idea piqued my interest, and I quickly saw an opportunity to hook up a chatbot to my website. In Coinbase's documentation, they mention an excellent article by Noah Putnam named Marc Andreessen's Original Sin where he recounts Andreessen lamenting the inability to build payment into the core of the web. A quarter of a century later, we are back on track to bring this idea to life.
Studying the protocol
I spent a considerable amount of time reading the x402 documentation on Coinbase, which details the protocol and how it works. Because HTTP is an open standard powering most of the modern web, the documentation is also available as a GitBook and with time should become more accessible through a myriad of sources.
In essence, it works like this:
- Ask for a resource through an HTTP request
- Receive a response with a
x402-payment-requiredheader
- This includes information on how to pay the resource owner
- Pay the resource owner for the resource in a retry request
- The resource owner on payment confirmation serves the resource in the response.
 Curtesy of Coinbase x402 documentation
Ideating
Conceptually, x402 enables stateless access to resources: the client doesn’t need an account, and the server doesn’t need to remember anything between requests. You ask for a resource, you pay for it, and you get it; no long-lived session is required.
For my chatbot, I saw two obvious ways to use that:
- Charge per request and treat every message as its own paid resource.
- Charge once to create a self-expiring token and allow multiple messages within that expiry window.
I chose the second option. A per‑request model fits x402’s strengths better; agents paying for API calls ad hoc is a really exciting long-term use case, but it’s not a great UX for an interview‑style chatbot. I wanted a natural conversation flow where the user pays once, then talks freely for a while.
The existing tooling leans towards using managed wallets or autonomous agents that sign on the user’s behalf. However, that would have made pay‑per‑request easy, but it would also have forced users to move funds into a wallet I control. I preferred a 'bring‑your‑own‑wallet' approach, even if it meant more plumbing.
Under the hood, the API stays stateless:
the unlock call returns a JWT that’s valid for 30 minutes.
Within that window, the chat endpoint simply checks the token's validly and expiry and serves responses.
If you really want to, you can hit the unlock endpoint yourself, grab a token, and plug it into your own client for
half an hour of inference.
There is maybe a hybrid solution I could have gone with, like having the user pay an initial fee into a wallet that I manage, but I wanted to keep things simple.
Building
I started out on my new feature by creating the API endpoint responsible for serving the user their request. I had initially planned to lock the page behind the paywall, but felt a more natural visit to the page with an explanation accompanied by a button to unlock the component and kick off the workflow. This came with its own drawbacks, as I couldn’t easily lock the component itself behind the paywall. Instead, I used that 30‑minute JWT unlock flow to gate access to the chatbot route.
Backend
The x402 method itself was easy to implement with the 'x402-next' library.
export const POST = withX402(
  handler,
  process.env.PAYMENT_ADDRESS as `0x${string}`,
  {
    price: "$0.01",
    network: "base" as const,
    config: {
      description: "Unlock AI interview chatbot",
      outputSchema: {
        type: "object",
        properties: {
          success: { type: "boolean" },
          sessionToken: { type: "string" },
          expiresAt: { type: "number" },
        },
      },
    },
  },
  facilitator,
);
The payment address is simply the address of the contract that will be used to pay for the resource. We include some additional information for the config like the price and the network and what the response will look like. In our case it's the JWT we previously discussed giving access to another route powering our chatbot component.
Frontend
The frontend was surprisingly more challenging. The current tooling around the frontend assumes the use of a managed
wallet. The withPaymentInterceptor function used to intercept requests and sign requires taking the wallet instance
as an argument to sign the request, creating a mismatch between what viem supports and what x402 expects.
This design decision leans into the idea of an autonomous agent self-signing for payment of the service, or utilizing a
managed wallet like
the Coinbase Developer Platform (CDP)
wallet. If we were using a solution like this, it would be more trivial to integrate a pay-per-request model into the
site.
Because I chose a bring‑your‑own‑wallet approach (rather than a managed wallet), integrating a smooth pay‑per‑request
flow was harder, but it gave users a more natural, non‑custodial experience.
I used a workflow that first checks for a wallet connection before revealing the payment component. With a wallet connected, we can initiate our x402 workflow and receive a session token. The wallet connection is simplistic, missing the ability to switch networks, but it's a good start.
We wrap the client request with the withPaymentInterceptor function, which will automatically construct our payment request for our wallet to sign. Once signed, the request will be retried with the payment header attached. Bob's your uncle. Or in this case, Bob gets paid, and you get a JWT to submit requests to the AI agent.
I decided to use Venice.ai for the chatbot component. Venice’s token-per-epoch model lets me front load cost and forget about per-request billing. Essentially, your token holdings entitle you to an indefinite number of AI inference requests per epoch (1 day).
      const client = withPaymentInterceptor(
    baseApiClient,
    walletClient as never,
);

const response = await client.post("/api/interview/unlock");
The bots
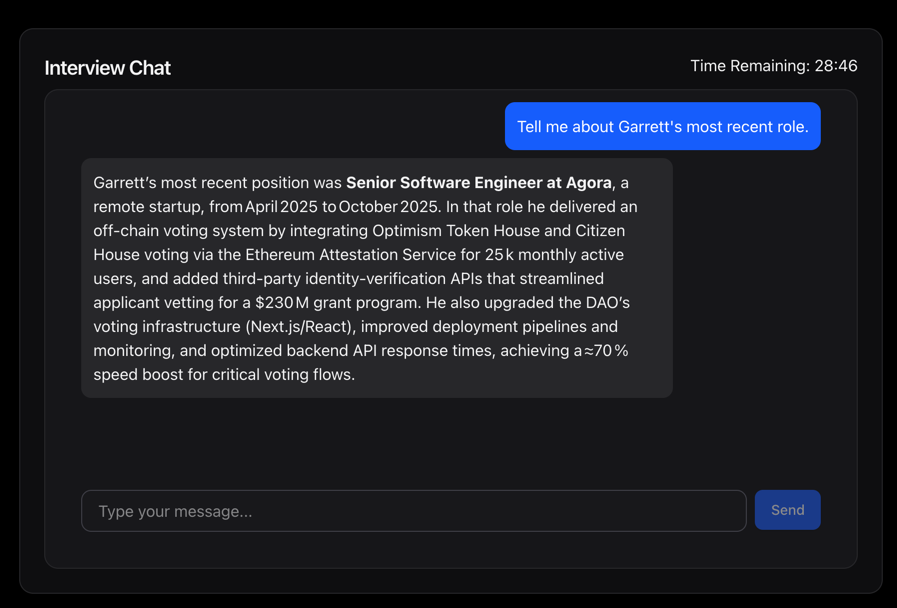
The purpose of this chatbot is to allow you, the reader, to speak to my experience and work history without having to do something so arduous as read a résumé. It also allows for dumping a much deeper and broader breadth of my accomplishments into the context of a conversation, thereby giving a user context they want only when they ask for it, and not excessive ancillary information. The bot gets to decide what the user most cares about and pull from a large list of bullet points to draw the answer from.
With the advent of tool calling from agents, we can programmatically fetch specific context for the agent to ingest before answering a question. For example, depending on the topic of the conversation, the agent may be able to fetch my work history, my profiles like GitHub, or preferences on location preferences and more. This allows us to build deep context into my history.
const tools: OpenAI.Chat.Completions.ChatCompletionTool[] = [
    {
        type: "function",
        function: {
            name: "getCVData",
            description: "Get information about Garrett's CV such as previous jobs and responsibilities. Returns JSON string.",
        },
    },
    {
        type: "function",
        function: {
            name: "getPreferences",
            description: "Get information about Garrett's preferences such as ideal jobs, relocation, and salary expectations. Returns JSON string.",
        },
    },
    {
        type: "function",
        function: {
            name: "getExternalData",
            description: "Get external links to references to Garrett's work like GitHub and LinkedIn Returns JSON string.",
        },
    },
];
Conclusion
Implementing an AI chatbot behind a x402 paywall was a fun way to pressure‑test the model in the real world and challenge my understanding of native crypto payments.
What I learned about x402:
- Sessions vs per‑request: session tokens are straightforward to implement and great for intent signaling, but they’re blunt.
- True per‑request payments would enable fine‑grained metering and better attribution, but require a more invasive wallet solution.
- BYO wallet friction: letting users bring their own wallet keeps trust and custody with them, but it introduces UX friction (network switching, signing flows, retries) that managed wallets largely smooth over.
What I want to explore next:
- True per‑request micropayments (x402 headers on every call) and how that changes UX, pricing, and caching.
- Agent workflows that pay other APIs on your behalf (machine‑to‑machine commerce with spending limits and policy).
- Managed wallets and hybrid models (user custody with agent‑level allowances) to reduce friction without giving up control.
Go try the bot; if you hire me, we’ll laugh about the 1¢ you paid for this post.